Manage Team Members
The Members section allows a Seller to manage everyone who helps operate their Sevi account — from administrators to field agents.
Each member added is assigned a role that defines what actions they can perform in the Sevi App or Seller Admin Portal.
Accessing the Members Section
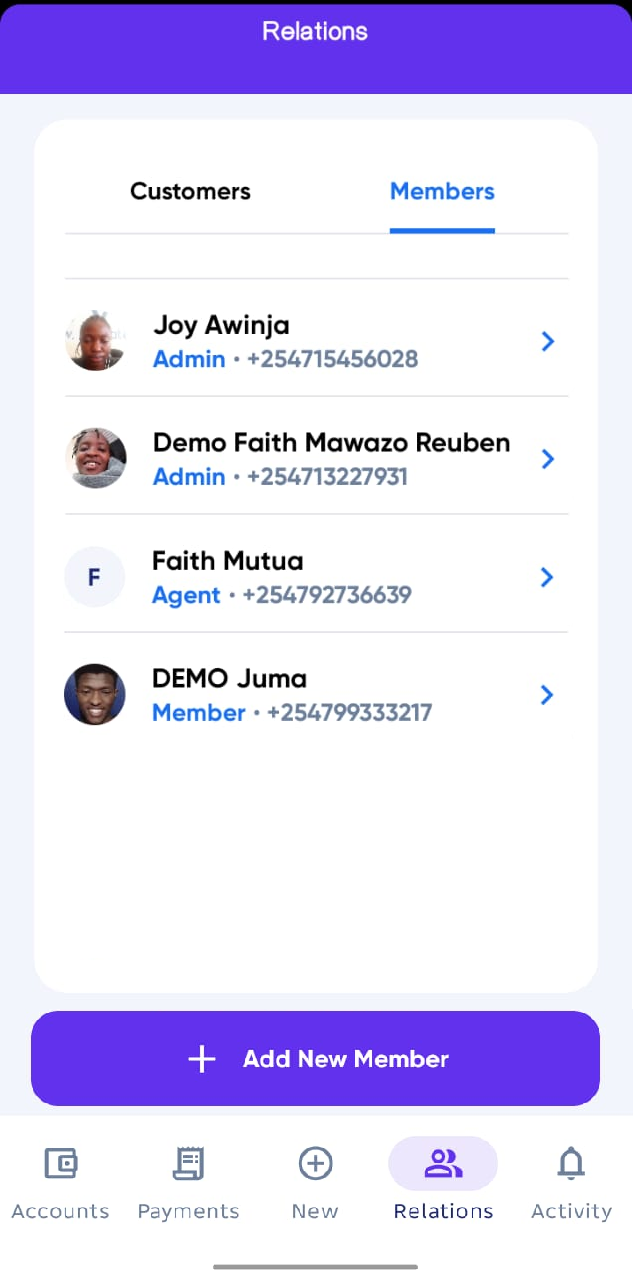
- From your Seller App, go to Relations → Members.
- You’ll see a list of all users under your seller account.
- Each entry shows:
- Full Name
- Phone Number
- Role (Admin, Member, or Agent)
Member Roles Explained
| Role | Access Rights |
|---|---|
| Admin | Has full control over the seller account — can manage wallets, approve payments, add or remove members, and view all activities. |
| Member | Can access most seller features including managing customers, creating payment requests, and tracking activities, but cannot access or manage the wallet. |
| Agent | Typically a sales representative responsible for onboarding buyers, creating payment requests on behalf of customers, and managing on-ground relationships. |
Adding a New Member
- Tap
Add New Memberbutton. - Enter their Phone Number.
- Tap
Inviteto send an SMS invitation for them to join your seller account as a Member by default.
Once the invite is accepted, the user will automatically appear in your Members list with their assigned role.
Managing Existing Members
From the Members screen, you can:
- View all team members and their assigned roles.
- Update a member’s role if their responsibilities change.
- Remove a member when they no longer work with your business.
tip
Keep your roles organized — assigning the right access helps protect your wallet and ensures smooth team operations.
**NOTE:**These are only visible and editable by the Admin of the account.